 Pin Now
 There's something about December that makes me want to bake sugar cookies, but it wasn't always my go-to. Years ago, a friend brought a tin of these buttery, tender cutouts to a holiday party, and I was skeptical—I'd always thought sugar cookies were either too crispy or too cakey. One bite changed my mind completely. The way they melted on my tongue with that perfect tender crumb made me ask for her recipe that very night. Now they're the first thing I make when the season shifts, and my kitchen fills with that warm vanilla smell that somehow makes everything feel more festive.
I remember rolling these out on my grandmother's kitchen counter while she hummed along to carols on the radio, telling me that the secret was not overworking the dough. She was right, of course—every time I've gotten impatient and overmixed, the cookies came out tougher. That afternoon taught me that some of the best things in the kitchen come from patience and restraint, not effort.
Ingredients
- Unsalted butter, softened: This is your foundation—use room temperature butter so it creams smoothly with the sugar, trapping tiny air bubbles that make the cookies tender and light.
- Granulated sugar: The fine crystals dissolve into the butter, creating that silky texture that's so satisfying.
- Large egg: This binds everything together without making the cookies cake-like; one egg is all you need.
- Pure vanilla extract: Don't skip this or use imitation—those few seconds of vanilla warmth in each bite makes all the difference.
- All-purpose flour: Measure by spooning and leveling to avoid packing too much flour into your measuring cup, which would make cookies dense.
- Baking powder: Just a touch helps them rise slightly and keeps them tender rather than flat.
- Salt: This tiny amount amplifies the vanilla and butter flavors you already have.
- Royal icing or decorations: Optional, but this is where the fun happens—these cookies are your blank canvas.
Tired of Takeout? 🥡
Get 10 meals you can make faster than delivery arrives. Seriously.
One email. No spam. Unsubscribe anytime.
Instructions
- Cream the butter and sugar:
- Beat them together for two to three minutes until the mixture looks pale and fluffy, like soft clouds. You'll hear the mixer working harder as the butter incorporates air, and that's exactly what you want.
- Add the egg and vanilla:
- Mix until the yellow of the egg completely disappears and everything is smooth and well combined. Don't overmix past this point.
- Combine the dry ingredients separately:
- Whisk the flour, baking powder, and salt together in another bowl so they're evenly distributed before they meet the wet mixture.
- Bring it together gently:
- Add the dry mixture to the wet mixture slowly, stirring just until you see no streaks of flour. Stop as soon as the dough comes together—this is not the time to keep mixing.
- Chill the dough:
- Flatten each half into a disk, wrap it, and refrigerate for at least an hour. The cold dough rolls out more easily and holds its shape better during baking.
- Prepare your workspace:
- Preheat your oven to 350°F and line baking sheets with parchment paper so the cookies don't stick or brown unevenly on the bottom.
- Roll and cut:
- Work with one dough disk at a time, keeping the other chilled. Roll to ¼-inch thickness on a lightly floured surface, then cut whatever shapes make you happy.
- Space them thoughtfully:
- Leave about an inch between cookies so they have room to spread without merging into one giant cookie.
- Watch the edges:
- Bake for eight to ten minutes—you're looking for the edges to turn just barely golden while the center still looks slightly underbaked. This is the sweet spot for tenderness.
- Cool with intention:
- Let them sit on the hot baking sheet for five minutes to firm up slightly, then move them to a wire rack where air can circulate all around them.
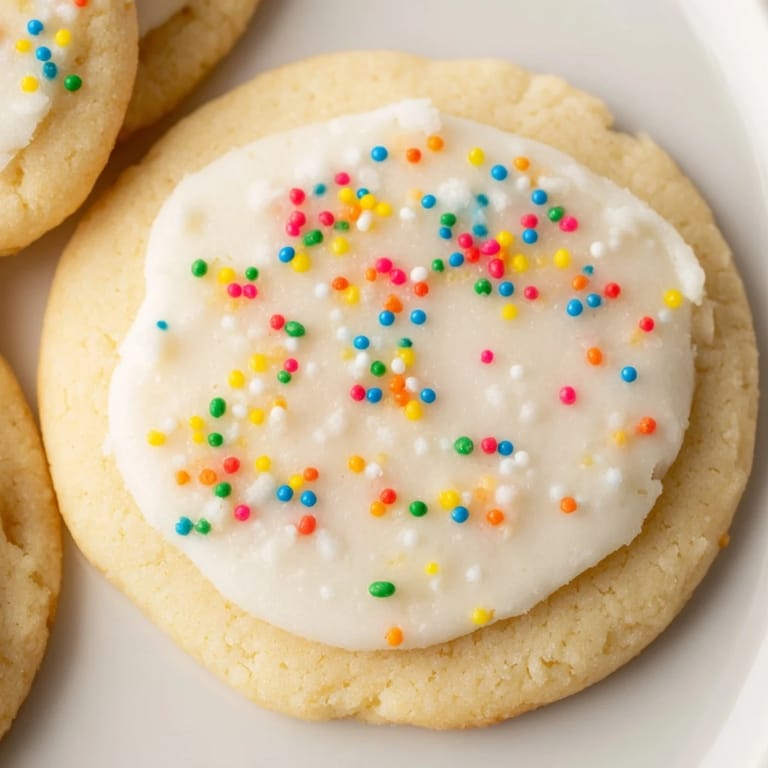
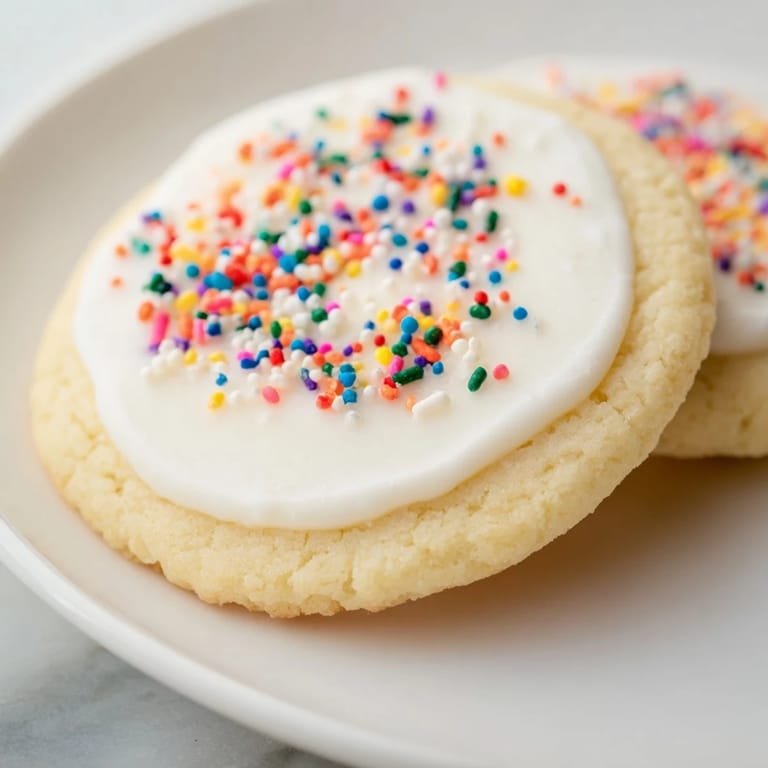
- Decorate if you wish:
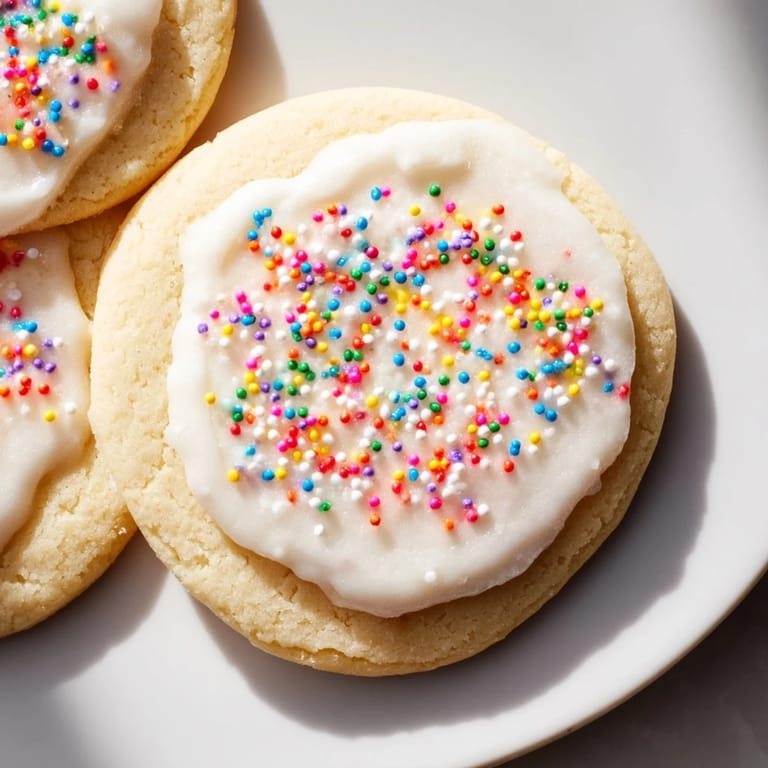
- Royal icing, colored sugars, or sprinkles turn these into the showstoppers people photograph and share.
 Pin Now
 These cookies became the tradition I didn't know I needed when my kids started asking to help make them every year. Now the kitchen is chaos—flour on the floor, sprinkles scattered everywhere, laughter and a little bit of frosting on faces. The cookies themselves are almost beside the point; it's the time together that makes them special.
The Art of the Tender Bite
The real magic happens in those first few minutes when butter and sugar meet. Many people rush this step, but when you take your time—letting the mixer run just long enough to work air into the mixture—you're setting up the entire structure of the cookie. I've learned that this isn't wasted time; it's the foundation. Light, fluffy, incorporated air is what separates a dense, heavy cookie from one that practically melts on your tongue.
Chilling: Why Patience Pays Off
When I first made these cookies, I skipped the chilling step because I was impatient—and I regretted it immediately when the dough became impossible to work with and the baked cookies spread into thin, crispy disks instead of holding their shape. Now I plan ahead, wrapping the dough before I do anything else so it's ready when I need it. That cold dough is almost firm enough to handle without flour, rolls out beautifully, and bakes up with thick, tender interiors instead of flat wafers.
Decorating: Making Them Shine
Plain sugar cookies are lovely, but decorated ones tell a story and bring joy in a different way. I've learned that royal icing holds details better than any shortcut, and colored sugars add dimension that plain white never can. The cookies themselves are just the beginning.
- Royal icing dries to a beautiful gloss that stays put, unlike other frostings that smudge and slide.
- Add food coloring to royal icing in tiny drops so you don't make it too thin or turn it the wrong shade.
- Sprinkles, sanding sugar, and pearl dust create texture and sparkle that make each cookie feel special.
 Pin Now
 These cookies have become my answer to almost every celebration—birthdays, thank-yous, holidays, or just a Tuesday that needs something sweet. They're simple enough to make without stress, but special enough that they feel like a gift.