 Pin Now
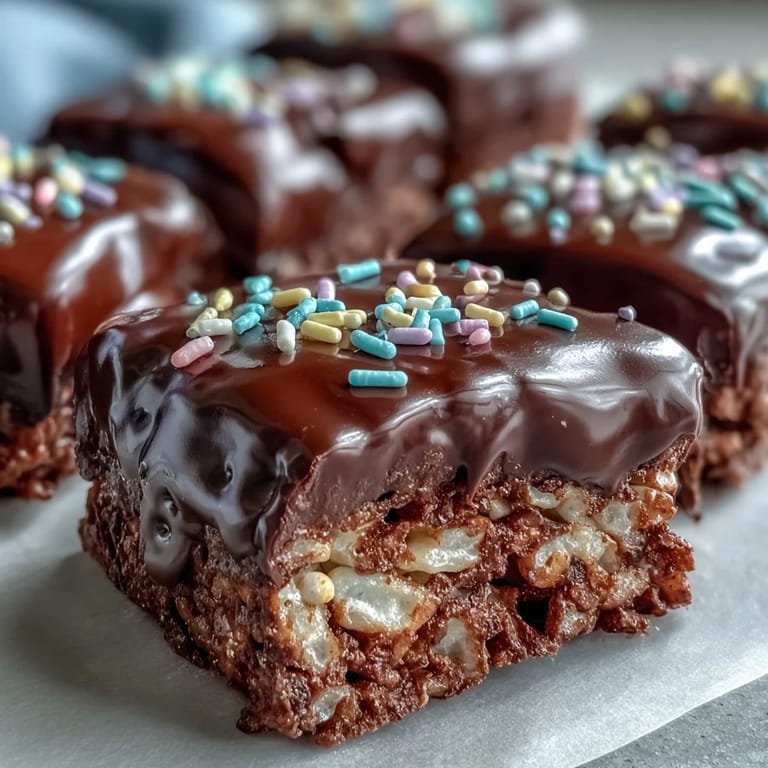
 My nephew's eyes lit up the moment I drizzled warm chocolate over those golden squares cooling on my counter. He'd wandered into the kitchen looking for a snack, and instead found me transforming plain Rice Krispy treats into something that looked like it came from a candy shop. The smell of melted butter and toasted cereal had already filled the room, but once that glossy chocolate hit the surface, he declared it magic. I handed him the container of sprinkles, and he went to work with the focus of an artist, covering every inch in a rainbow confetti blanket.
I made a double batch for my daughter's birthday party last spring, and they disappeared faster than the cake. Parents kept asking for the recipe, surprised that something so impressive required no oven and just a handful of pantry staples. One mom told me her son, who usually refused homemade treats, ate three bars and asked if I could teach his dad how to make them. That moment reminded me how a little chocolate can turn the familiar into something special, and how food becomes the easiest way to make people smile.
Ingredients
- Unsalted butter: Melts the marshmallows smoothly and adds richness, plus a little extra for greasing the pan so nothing sticks.
- Mini marshmallows: The glue that binds everything together, melting into a glossy, stretchy base that locks the cereal in place.
- Rice Krispies cereal: Provides that signature snap and crunch, and its lightness keeps the bars from feeling too heavy.
- Fine sea salt: Optional but brilliant, it sharpens the sweetness and makes every flavor pop without tasting salty.
- Semisweet or dark chocolate chips: Creates a smooth, rich coating that firms up beautifully and balances the sugary marshmallow.
- Vegetable oil or coconut oil: Thins the chocolate just enough to pour and spread without seizing, giving you that glossy finish.
- Rainbow sprinkles or chopped nuts: The final flourish, adding color, texture, and a touch of whimsy or crunch depending on your mood.
Tired of Takeout? 🥡
Get 10 meals you can make faster than delivery arrives. Seriously.
One email. No spam. Unsubscribe anytime.
Instructions
- Prep your pan:
- Grease an 8x8 or 9x9 inch square pan generously with butter so the mixture releases easily later. If you have parchment paper, line the pan with an overhang for the easiest removal.
- Melt the butter:
- Place the butter in a large saucepan over low heat and stir constantly until fully melted. Keep the heat low to avoid browning, which can make the final bars taste bitter.
- Melt the marshmallows:
- Add the mini marshmallows to the melted butter and stir continuously until they melt into a smooth, stretchy mixture. Remove from heat as soon as the last bits disappear to prevent the mixture from becoming tough.
- Season and combine:
- Stir in the sea salt if using, then add the Rice Krispies cereal. Fold gently with a spatula until every piece is coated in that glossy marshmallow mixture.
- Press into the pan:
- Transfer the warm mixture to your prepared pan and press it down firmly and evenly using a buttered spatula or lightly greased hands. Let it sit at room temperature for about 10 minutes to firm up slightly before adding chocolate.
- Melt the chocolate:
- Combine chocolate chips and oil in a microwave safe bowl, then microwave on medium power in 30 second bursts, stirring after each interval until smooth and glossy. The oil keeps the chocolate from seizing and makes it pourable.
- Top and garnish:
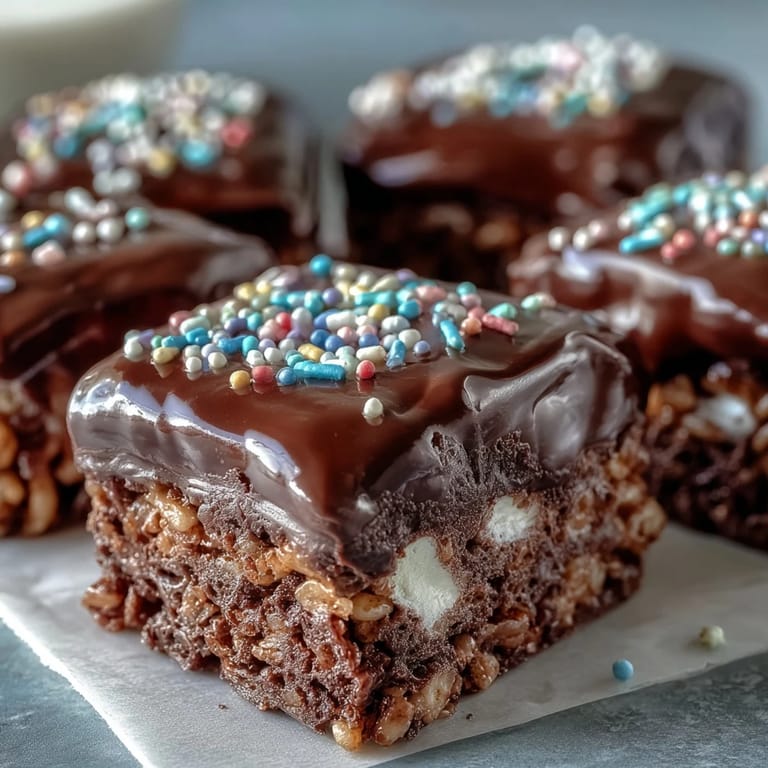
- Pour the melted chocolate over the cooled Rice Krispy layer and spread it evenly with an offset spatula or the back of a spoon. Immediately scatter rainbow sprinkles or chopped nuts on top before the chocolate sets.
- Let it set:
- Allow the treats to sit at room temperature for at least an hour, or refrigerate for 20 to 30 minutes until the chocolate is firm to the touch. Patience here ensures clean cuts and no messy fingers.
- Cut and serve:
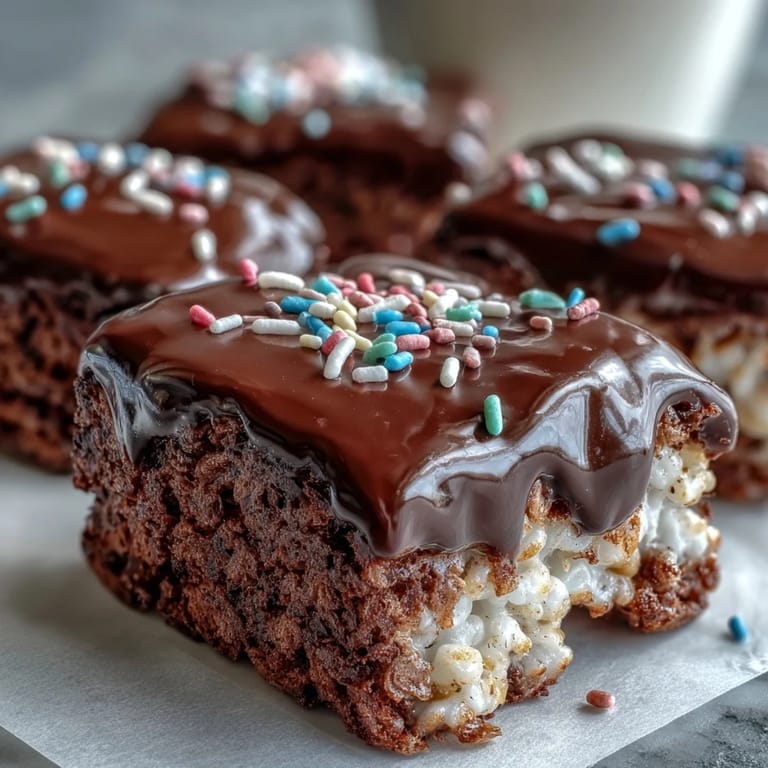
- Lift the block from the pan using the parchment overhang if you used it, or invert onto a cutting board. Use a sharp knife to cut into 12 to 16 bars, wiping the blade between cuts for the neatest edges.
 Pin Now
 One rainy afternoon, my daughter and I made these together, and she insisted on adding edible glitter to the chocolate. The kitchen counter looked like a craft explosion, but when we packed the bars into a tin and delivered them to our neighbor recovering from surgery, her face lit up. She told us later that those sparkly treats were the first thing that made her smile all week. That's when I realized these bars aren't just dessert, they're little messengers of joy, simple enough to make on a whim but special enough to matter.
Storing and Keeping Them Fresh
I've learned the hard way that leaving these uncovered turns the cereal stale and the chocolate dull within hours. Store them in an airtight container at room temperature for up to three days, or refrigerate them for up to a week if your kitchen runs warm. If you stack them, place parchment paper between layers to keep the chocolate from sticking. They also freeze beautifully for up to a month, just wrap each bar individually in plastic wrap and thaw at room temperature for about 20 minutes before serving.
Flavor Twists Worth Trying
Once you nail the basic version, the variations become addictive. I've stirred a half teaspoon of vanilla extract into the melted marshmallows for a warmer flavor, swapped semisweet chocolate for white chocolate and topped it with freeze dried strawberries, and even mixed in a handful of mini chocolate chips to the cereal before pressing. My favorite experiment was drizzling melted peanut butter over the chocolate layer and swirling it with a toothpick, it tasted like a homemade candy bar. Don't be afraid to raid your pantry and see what happens.
Making Them Look Bakery Perfect
The secret to professional looking bars is all in the chocolate finish. Let your melted chocolate cool to about 88 degrees Fahrenheit before pouring, it sets with a glossy snap instead of a dull film. Use an offset spatula to spread it in smooth, even strokes, and work quickly so the chocolate doesn't start to firm up mid spread. If you want extra polish, tap the pan gently on the counter after pouring to release any air bubbles.
- Wipe your knife with a warm, damp cloth between each cut for the cleanest edges.
- Chill the bars for just 10 minutes before cutting if you want ultra sharp lines without waiting an hour.
- Dust the tops lightly with flaky sea salt right after adding sprinkles for a sweet and salty contrast that feels gourmet.
 Pin Now
 These bars have become my go to whenever I need to bring something that feels homemade but doesn't require hours in the kitchen. They remind me that the best recipes are often the simplest ones, the ones that leave you time to enjoy the people you're feeding. I hope they bring as much joy to your table as they've brought to mine.
Recipe FAQs
- → How long do these chocolate covered treats stay fresh?
Store in an airtight container at room temperature for up to 3 days, or refrigerate for up to a week. The chocolate may lose some of its gloss when refrigerated but the taste remains delicious.
- → Can I use white chocolate instead of dark or semisweet?
Absolutely! White chocolate works beautifully and pairs wonderfully with pastel sprinkles for a festive variation. The melting process remains the same—just add 1 teaspoon of oil to help it melt smoothly.
- → Why add oil to the chocolate when melting?
The vegetable or coconut oil helps thin the chocolate and gives it a smooth, glossy finish when it sets. It also makes the chocolate coating easier to cut through without cracking.
- → How do I prevent the cereal mixture from sticking to my hands?
Butter your hands or spatula lightly before pressing the mixture into the pan. You can also dampen your hands with cold water—the marshmallow won't stick to wet surfaces as easily.
- → Can I make these ahead of time for a party?
Yes, these are perfect for making ahead! Prepare them up to 2 days in advance and store at room temperature. Cut into bars just before serving to keep edges fresh and prevent the chocolate from absorbing moisture.